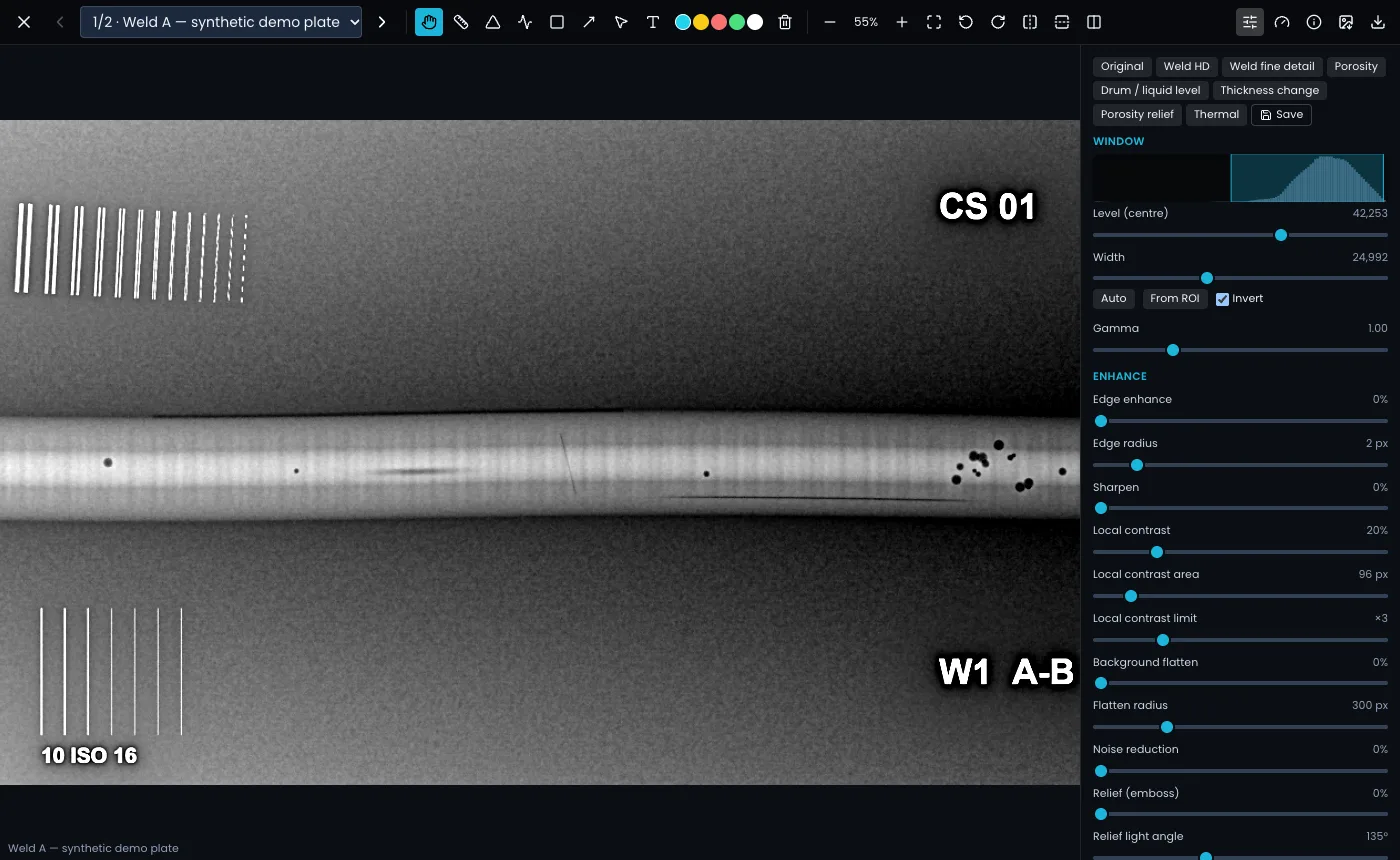
Presets are at the top of the Adjust panel. Each sets the window automatically and applies a group of filters.
| Preset | Use it for |
|---|---|
| Original | The image as captured, with an automatic window. Also what r resets to. |
| Weld HD | General weld interpretation: multi-scale detail with light noise reduction and local contrast. |
| Weld fine detail | Fine cracks and lack of fusion: stronger small-detail lift with more noise reduction. |
| Porosity | Pores and inclusions: mid-size detail boosted, with a light relief effect. |
| Drum / liquid level | Containers and drums: large-scale density changes such as a liquid level, with background removal and strong noise reduction. |
| Thickness change | Erosion, corrosion and wall-thickness changes: large-scale density lifted. |
| Porosity relief | A raised, embossed look that makes rounded indications stand out. |
| Thermal | False colour with local contrast to pull faint density changes out of the grey. |
Save your own preset
Set up the window and filters, then choose Save next to the presets and give it a name. Your presets are saved to your account and appear after the built-in ones.
Batch: the same view on every image
In the Measure panel, open Stitch & batch. Tick Keep this view (window, processing, orientation) for every image and step through with [ and ]. Staff can also choose Set this orientation as the default for all images on the report.
Hanging protocol: your default view
On the same tab, Save current view as my default stores the current processing and orientation as your default for this type of report. It is applied when you open an image that has not been set up or assessed yet.